General Information[]
The NAVIGATION panel shows all recorded star systems, trade markets, and stored locations within your current trade range. The TRADE RANGE is selected by the red button at the top of the panel. If the EDDB-Relay service was activated, the Trade Range button isn't no longer available, because by activating the service, the Trade Range was set by the service. To change the range afterwards, stop the service at the Options panel (Online tab), change the Trade Range and restart it.
You can filter the displayed entries with the buttons above each header to find what you are looking for quickly. The X button at the end resets the filter settings.
At the bottom of the panel, some details are displayed when selecting an entry from the list. Within the panel you can change settings, notes, and select a destination. Additionally, you can view your FLIGHT LOG and add any locations you came across to your database.
There is a red button at the top of the panel where you can select a Trade Range. Within this range TCE shows all detected star systems, trade markets, and locations. The default value is 100 light-years. Higher values should be used with caution because TCE has to process more star systems and locations. This could result in laggy behavior when Trade Range is set greater than 500 light-years.
The Trade Range also defines the limit of the automatic destination selection of trade markets.
Star Systems[]
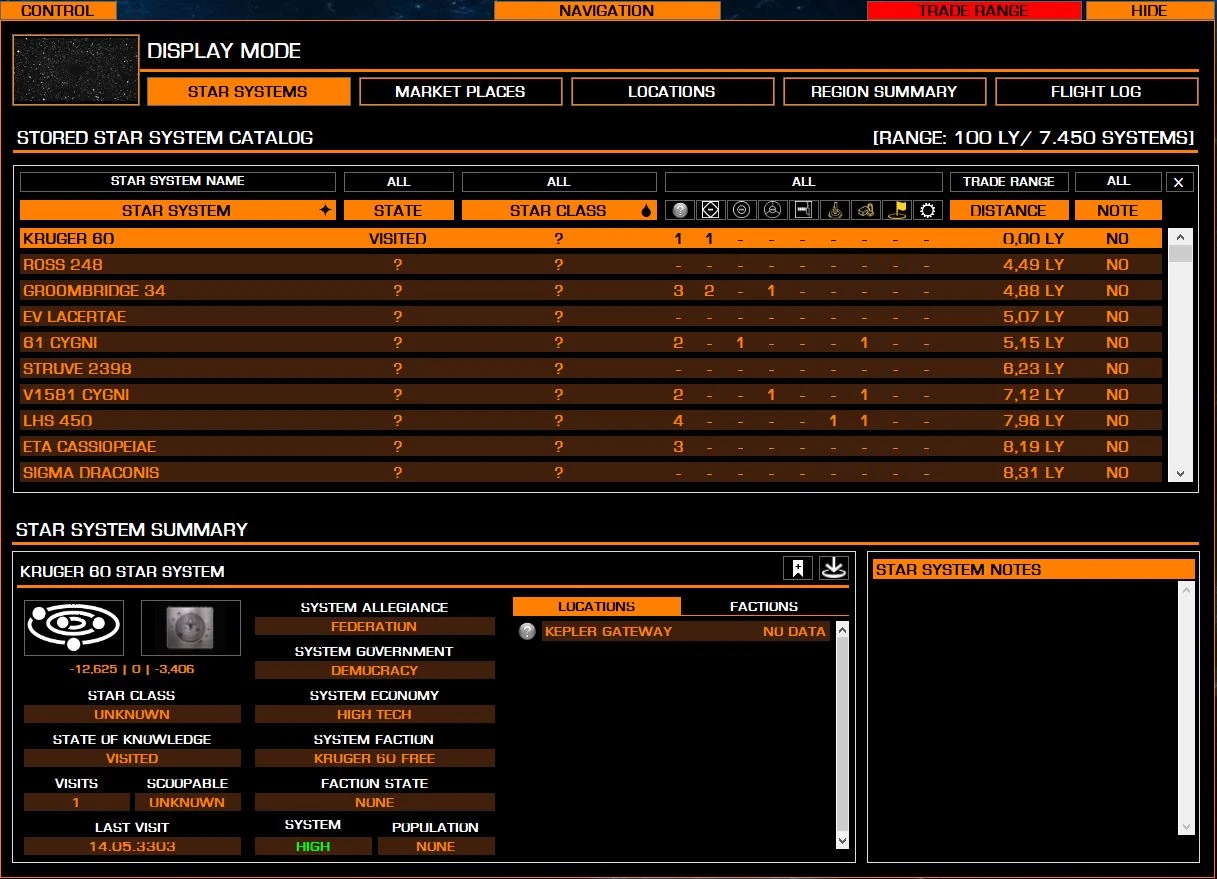
This tab gives you an overview of which star systems are surrounding you. The number of star systems listed is determined by your chosen TRADE RANGE. If you aren't seeing a system you are looking for, try increasing the Trade Range.
There are numberous of filter settings, accessable by pressing the button above the scrollbar (see picture left).
On the panel you can see the name of the star system and its main star class. In addition you can also see if fuel scooping is possible at the main star, and how many stored locations and markets are found within it.
Finally the panel shows if you have visited the star system previously, and what exploration state it has for your cartography records. The Distance shows you how far away the star system is from your current position.
When arriving at a previously un-visited star system, you will see question marks (?) in place of certain data points. To change the data, click on the star system and click in the star system details on the STAR CLASS or STATE OF KNOWLEDGE area at the bottom of the panel. Select with the dropdown list the appropriate entry and your database is automatically updated.
At the bottom of the panel there is a detailed view of the star system and a list of all stored locations within. Select one to either get further details, set it as a destination, or delete the location. In order to remove a stored market entry, please use the MARKET DATABASE panel.
You can add a note for the star system into the NOTES box. Clicking on SAVE CHANGES stores it into your database.
Market Places[]
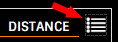
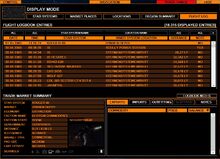
This tab gives you an overview of which space stations and planetary ports are surrounding you. The number of markets listed depends on your chosen TRADE RANGE.
The list shows a general overview of the markets. Data presented includes the type of market, the allegiance status of the system, its economy, the 'profit per unit' or 'discount per unit' for the top trade wares, the distance from the primary star within the system, the distance from your current position, and if user Notes are present.
There are numberous of filter settings, accessable by pressing the button above the scrollbar.
When selecting a market from the list you get the market details at the bottom of the panel, showing EXPORTS, IMPORTS, OUTFITTING, SHIPYARD, and NOTES, if available.
By clicking the DESTINATION button a course is set to the market selected.
Locations[]
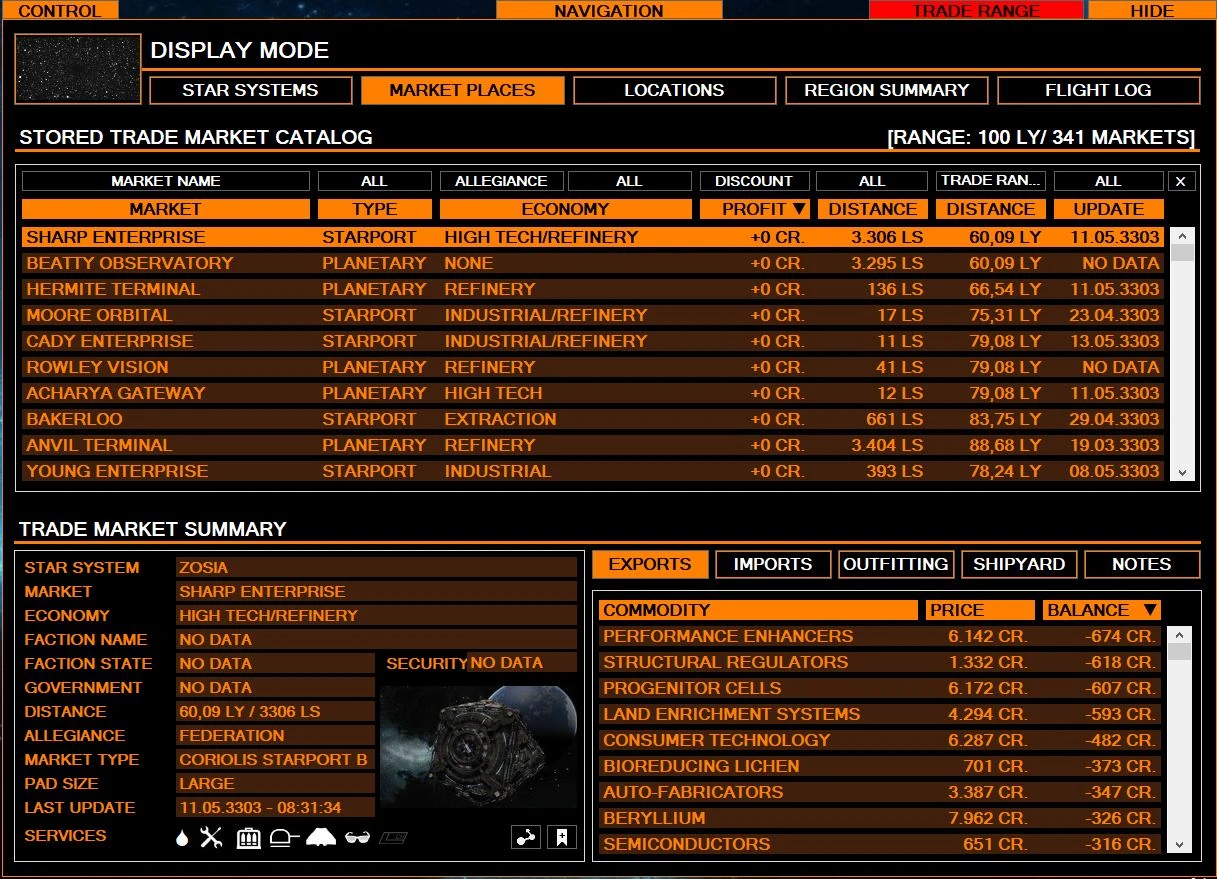
This tab gives an overview of all recorded locations in your database.
Stored locations are separated into 8 types:
- outfitting options
- shipyard options
- black markets
- broker availability for combat zones
- points of interest
- rare commodities
- stored ships at various stations
- resource extractions
There are numberous of filter settings, accessable by pressing the button above the scrollbar.
Click on a location to get more details for it. Once the details are loaded for a location you can change various data and any Notes for the location. In addition, you can click the button below those location details to set a course to that location.
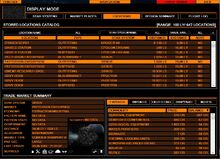
Region Summary[]
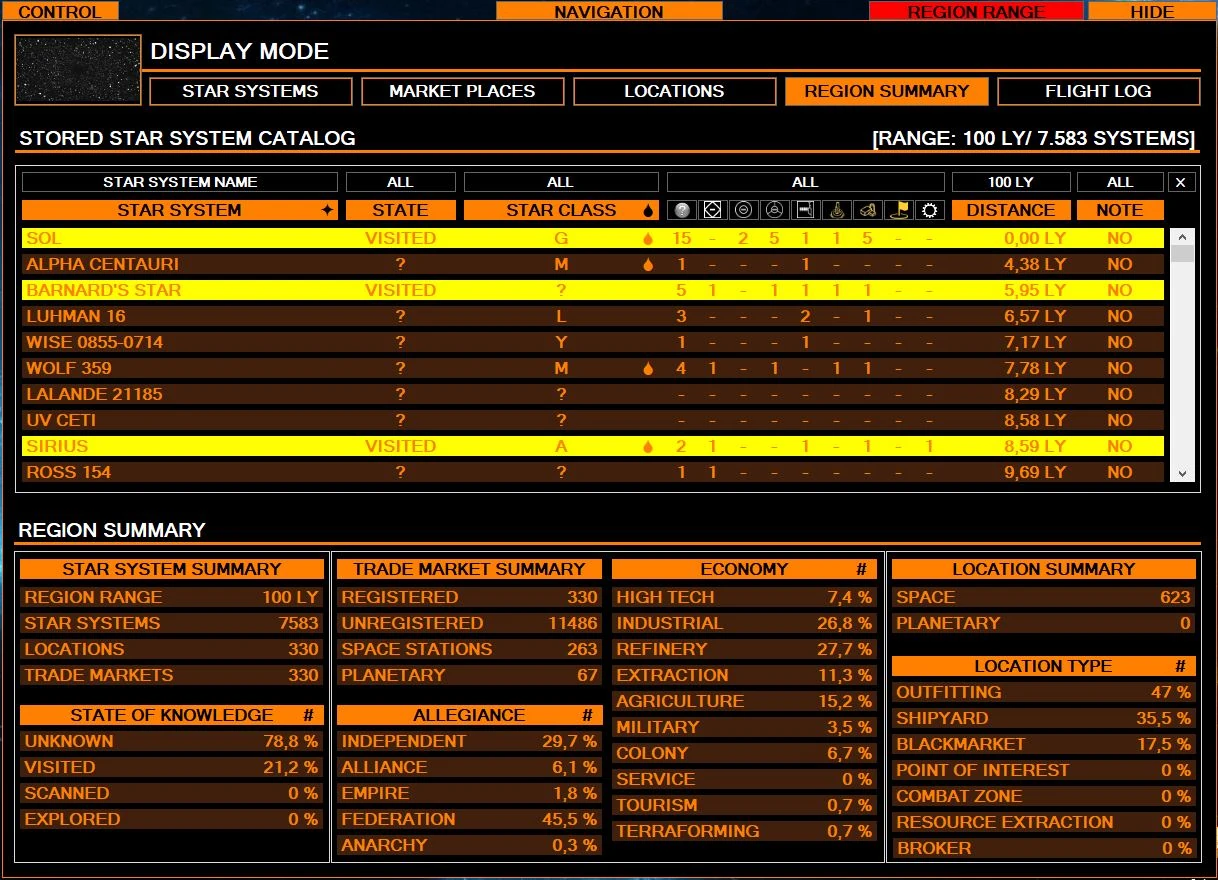
The region summary will help to get an overview of star systems, trade markets, and locations for a selected region. To select a region, you have to set the center of a region by selecting a star system from the Navigation panel > Star System tab.
When you click on "SET REGION CENTER" at the star system details, a small icon is displayed behind the name of the star system. By default, the range of the region is equal to your jump limit for your current ship. You can change this range value by selecting the Region Summary tab.
The TRADE RANGE button is now replaced by a REGION RANGE button at the top of the panel, with similar functionality and use. Click it to change the range.
The region center is always the first entry at the list of star systems. The summary below shows many statistics about the star systems within the region distance. You can switch the display between percentage/number with the '#' or '%' icons at the header of each list.
Flight Log[]
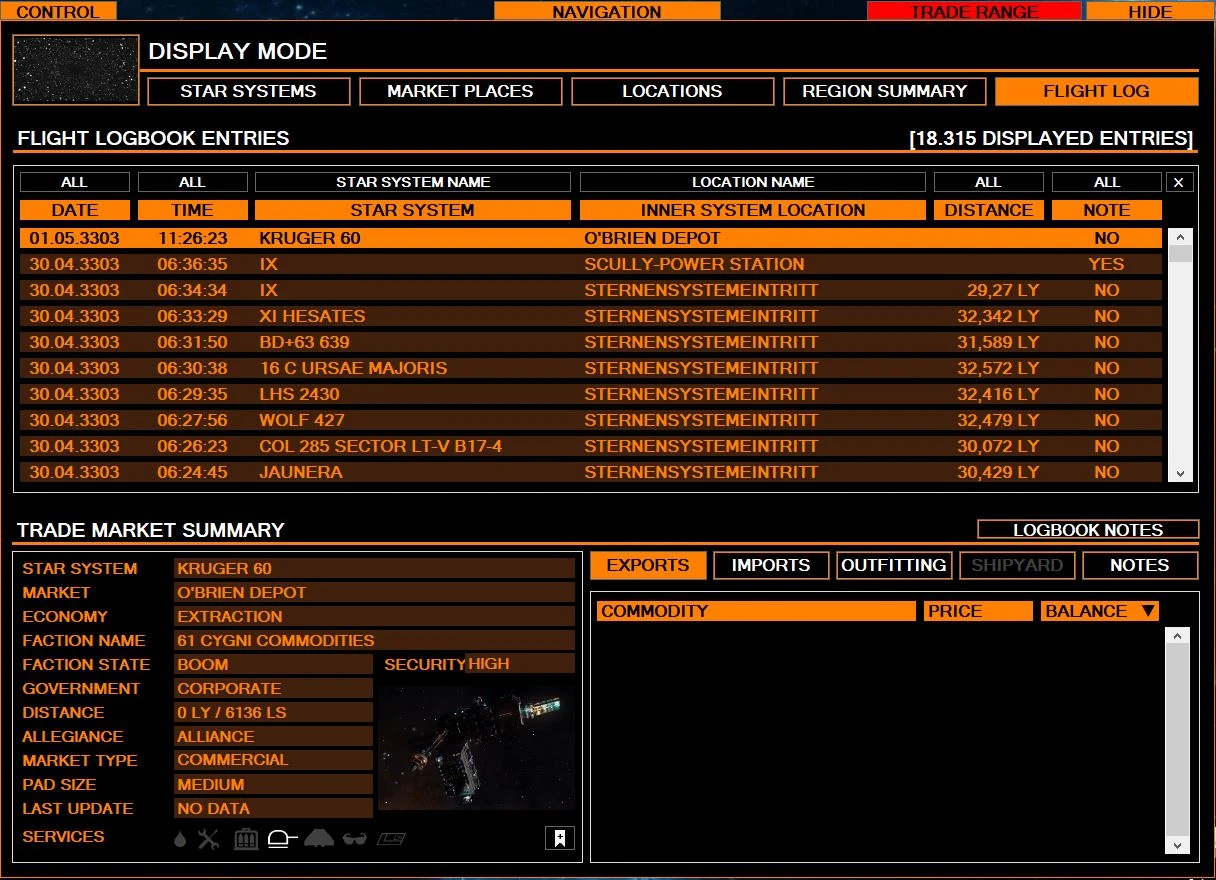
Here you can see all entries of your travel since the beginning of using the extension. Entries are made for star system changes and locations are within a star system.
Each entry can hold a note, if there is something to report. Entries marked as STAR SYSTEM ENTRY shows the star system note, you entered before. If you reach a prior stored location within a star system, the INNER SYSTEM LOCATION holding its name and the notes of the location is displayed at the note box.
You can modify or add a note through typing the note directly into the note box. When finished, click on the SAVE CHANGES button below to store it.
When selecting an entry, more details about the location is displayed below.